Onboarding Walkthrough
This document will guide you through the entire Pontus-X Onboarding Procedure, from the creation of your organizational account to the usage of the Pontus-X data space ecosystem and receiving your Gaia-X Participant Credentials.
Prerequisites for Onboarding
Before beginning the onboarding procedure, you can check the following prequisites to validate if you can complete the onboarding procedure in one go. If you notice that one or more prerequisites are not fulfilled you can still proceed with the procedure, but you will not be able to complete the entire process during a single visit.
- You need the legal address of your organization as documented in the national register.
- You need the physical address of your organization headquarter.
- You need a LEI (Legal Entity Identifier), VAT (Value Added Tax) ID, and EORI (Economic Operators Registration and Identification) of your organization.
- You need at least 5-10 minutes to complete the entire process.
- You should be able to download a file through your browser and be able to create an offline backup of the file.
- You need to be authorized to register your organization and take custody of your organizational private key.
- You need an organizational e-mail address to pass the domain verification. E-mail addresses of private or natural persons are not accepted.
Step 1 of 5 - Create an Account
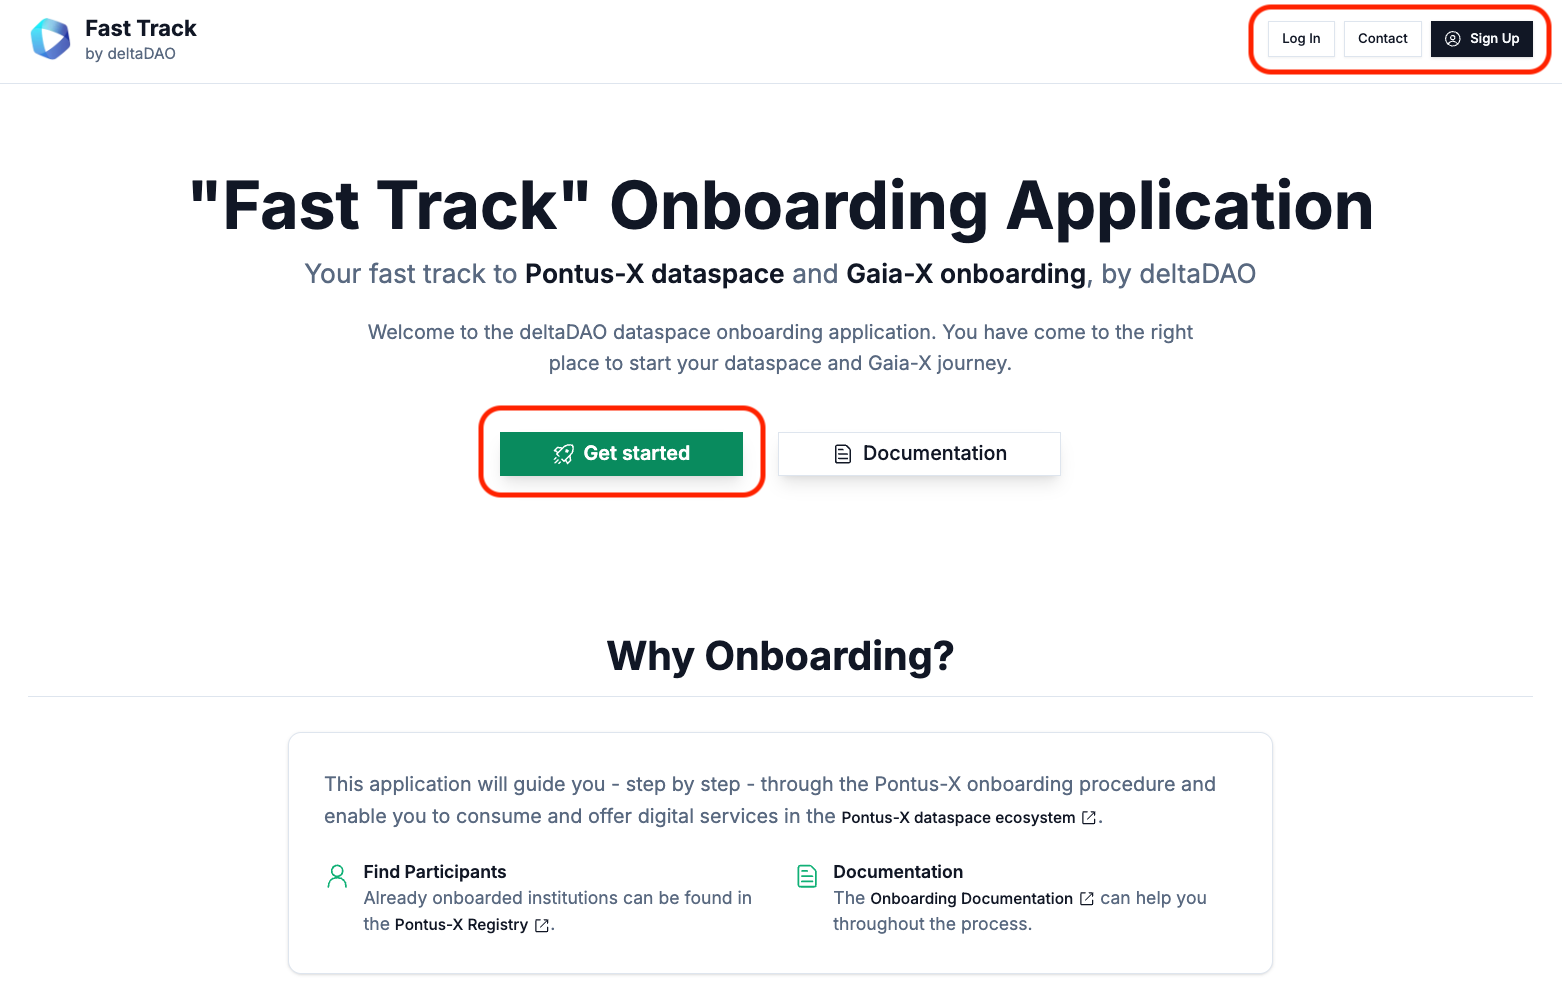
To create an account please visit the Onboarding Application Landing Page and select the "Get started" or "Sign Up" option to create a new account with the Onboarding Application.
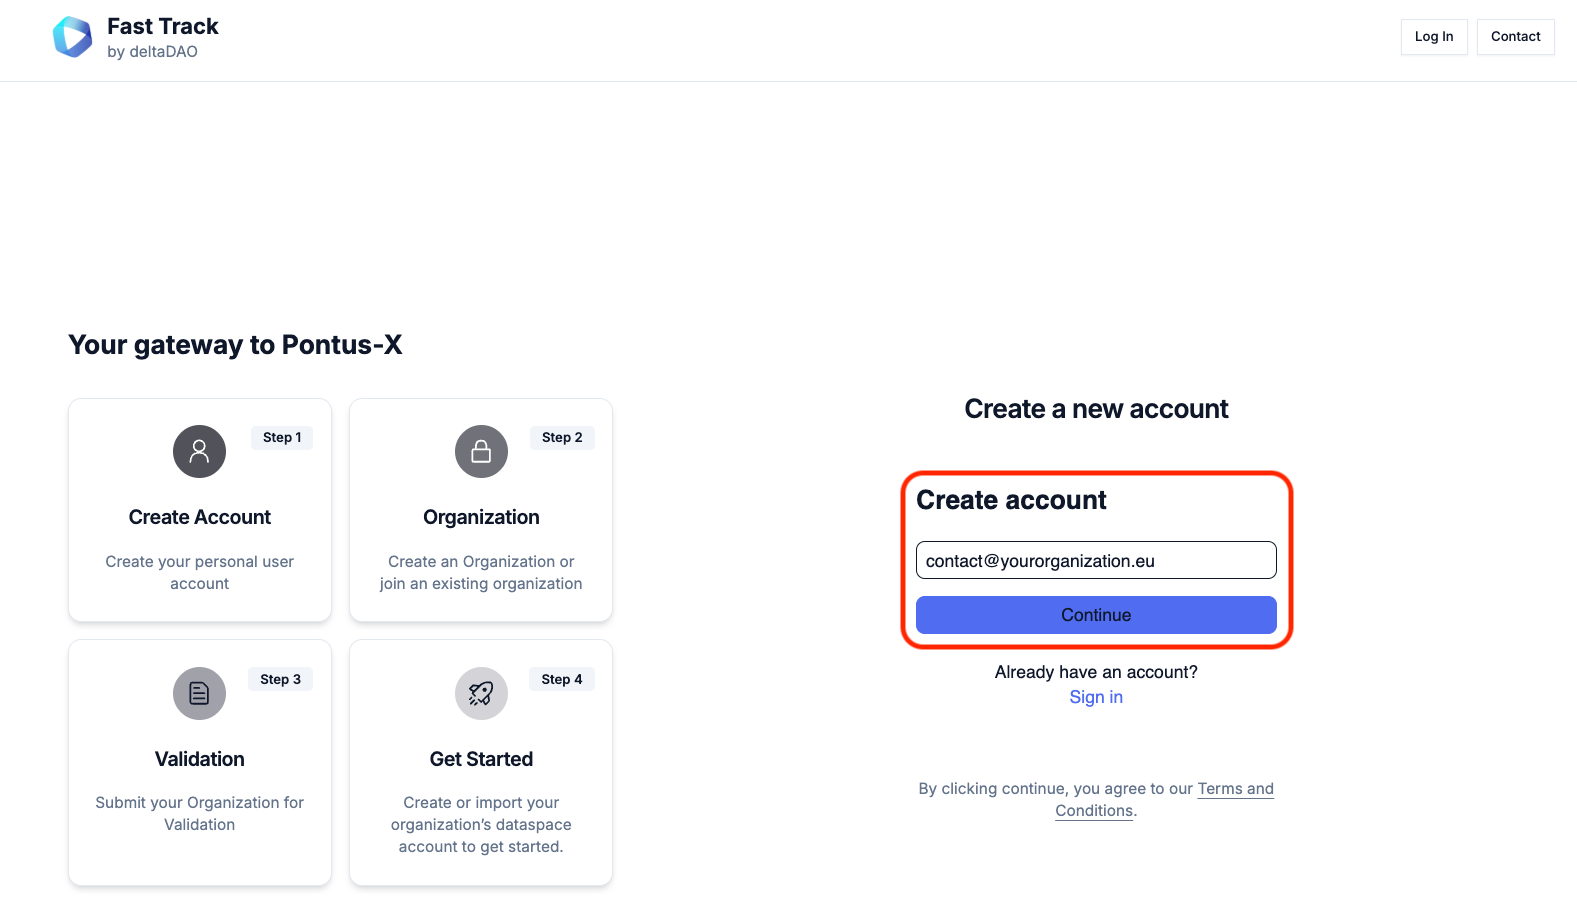
You will be forwarded to the "Create a new account" page and prompted to enter an organizational e-mail address. Please make sure to not use a personal e-mail address and that the email address uses your organization's domain, i.e., @yourorganization.eu, as the domain will be used for validation. By clicking "Continue", you agree to the Terms and Conditions of the Onboarding Application.
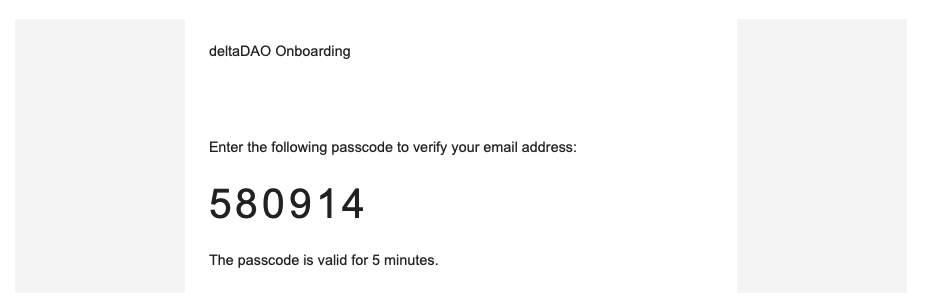
Shortly after submitting your request you will receive the passcode sent to your e-mail address. Please enter the code in the respective validation field and click "Continue" to proceed. The e-mail will be sent from the same domain as the Onboarding Application. If you do not receive the e-mail with the passcode, please check your SPAM folder or contact your administrator to check if the e-mail has been filtered out by your e-mail provider. In case the passcode e-mail has not been received and cannot be located in your SPAM folder, you can directly contact the provider of the onboarding application.
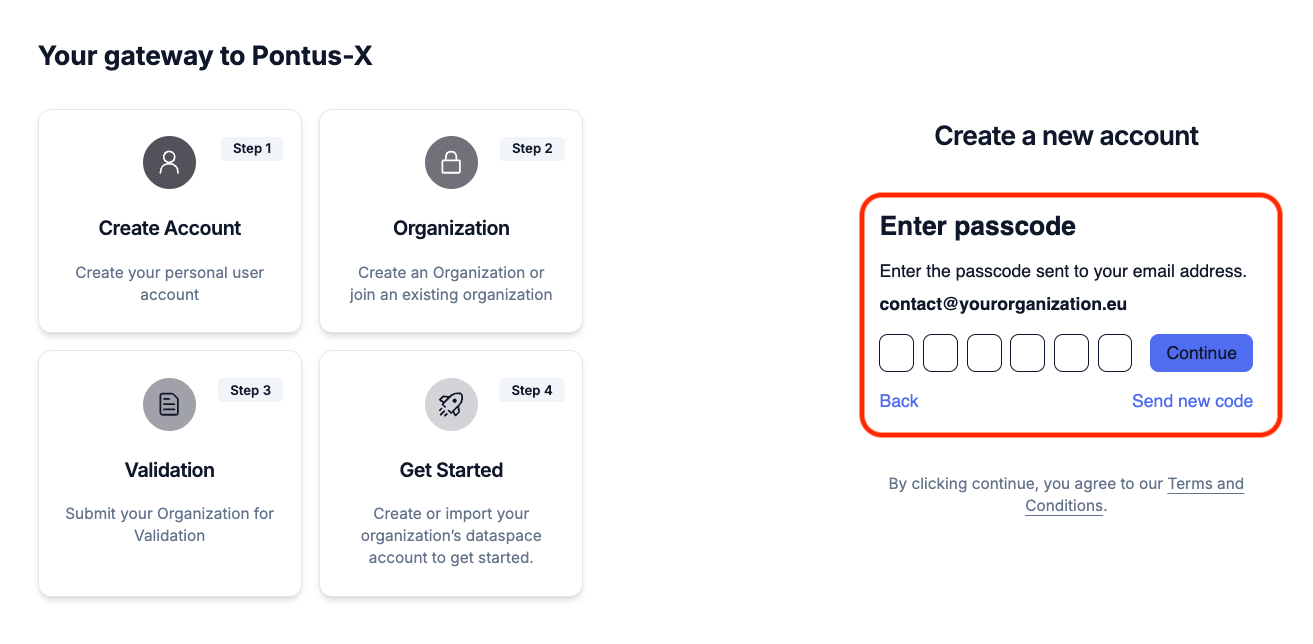
The e-mail containing the passcode is valid for five minutes.
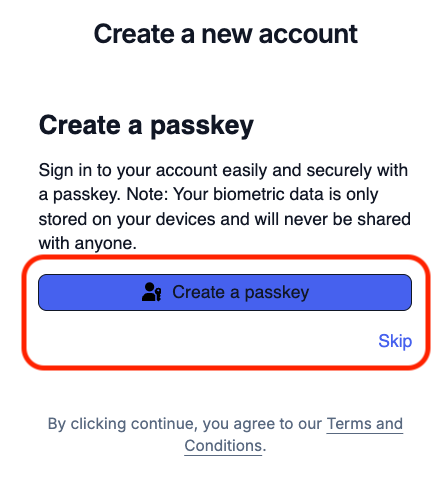
Optional step: After the submission of the passcode you can select to create a passkey for future logins. This passkey will then be stored in your preferred passkey solution on your device. You can also select to skip this step and come back to it at a later point in time by clicking "skip".
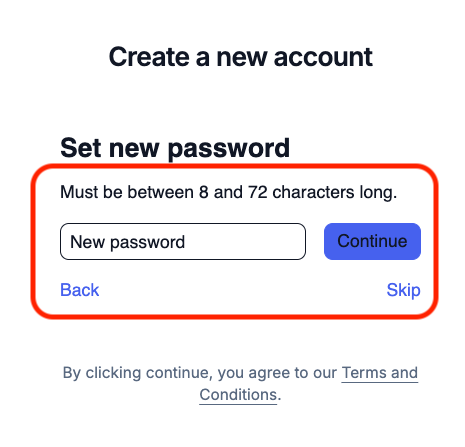
Optional: If you skip creating a passkey, you will be prompted to create a password to protect your account. You can select a password or skip this step. In this case, the default login method will be a passcode sent to you by email when you log back into the application. As with the passkey, you can set the password at a later stage.
Optional: Regardless of the method you select (passkey, password, or passcode) you will be prompted to set up Multi-Factor-Authentication (MFA) as an additional security layer for your account. This is highly recommended, but optional. You can select to use a security key, i.e., YubiKey, or any preferred authenticator app for One-Time Password (OTP) generation. As with the other optional steps, you can also do this at a later point in time.
Once these steps have been completed, your account will be created and you can proceed with the creation of a new organization.
Step 2 of 5 - Creation of a New Organization
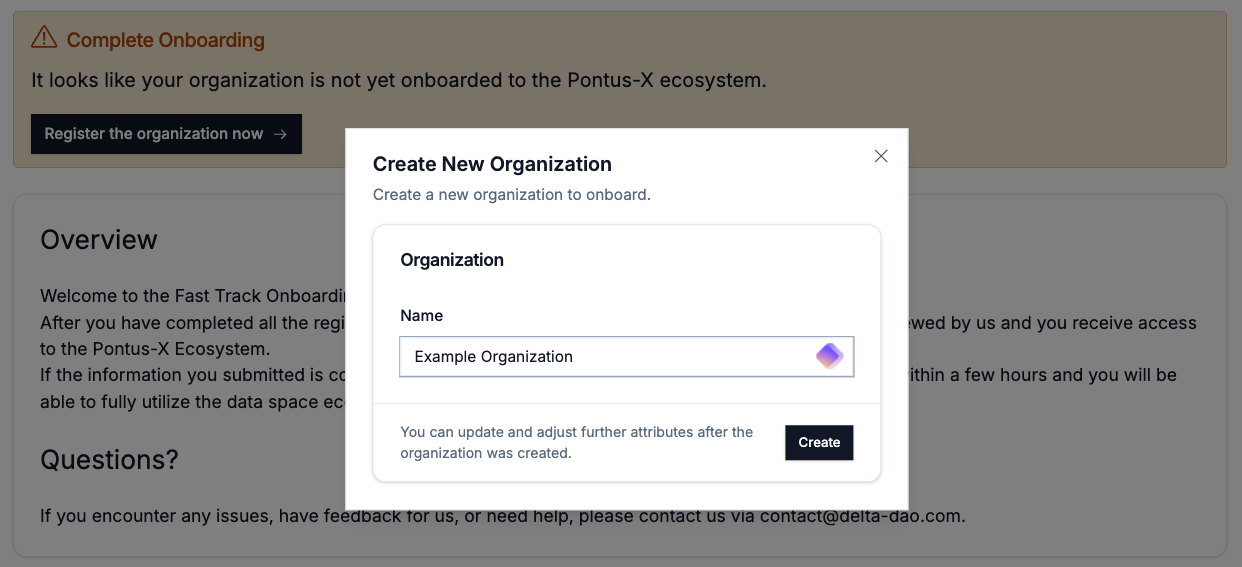
In order to create an account for your organisation, you will be prompted to enter its name. Please enter the exact same name as in your company's registration documents and the national organizational register.
NOTE: If another employee from your organization has already registered the organization's name with a different account, it cannot be registered again. If this is the case, please contact that employee.
From here, you will be guided to the Onboarding Wizard, which will take you through a series of steps that must be completed successfully.
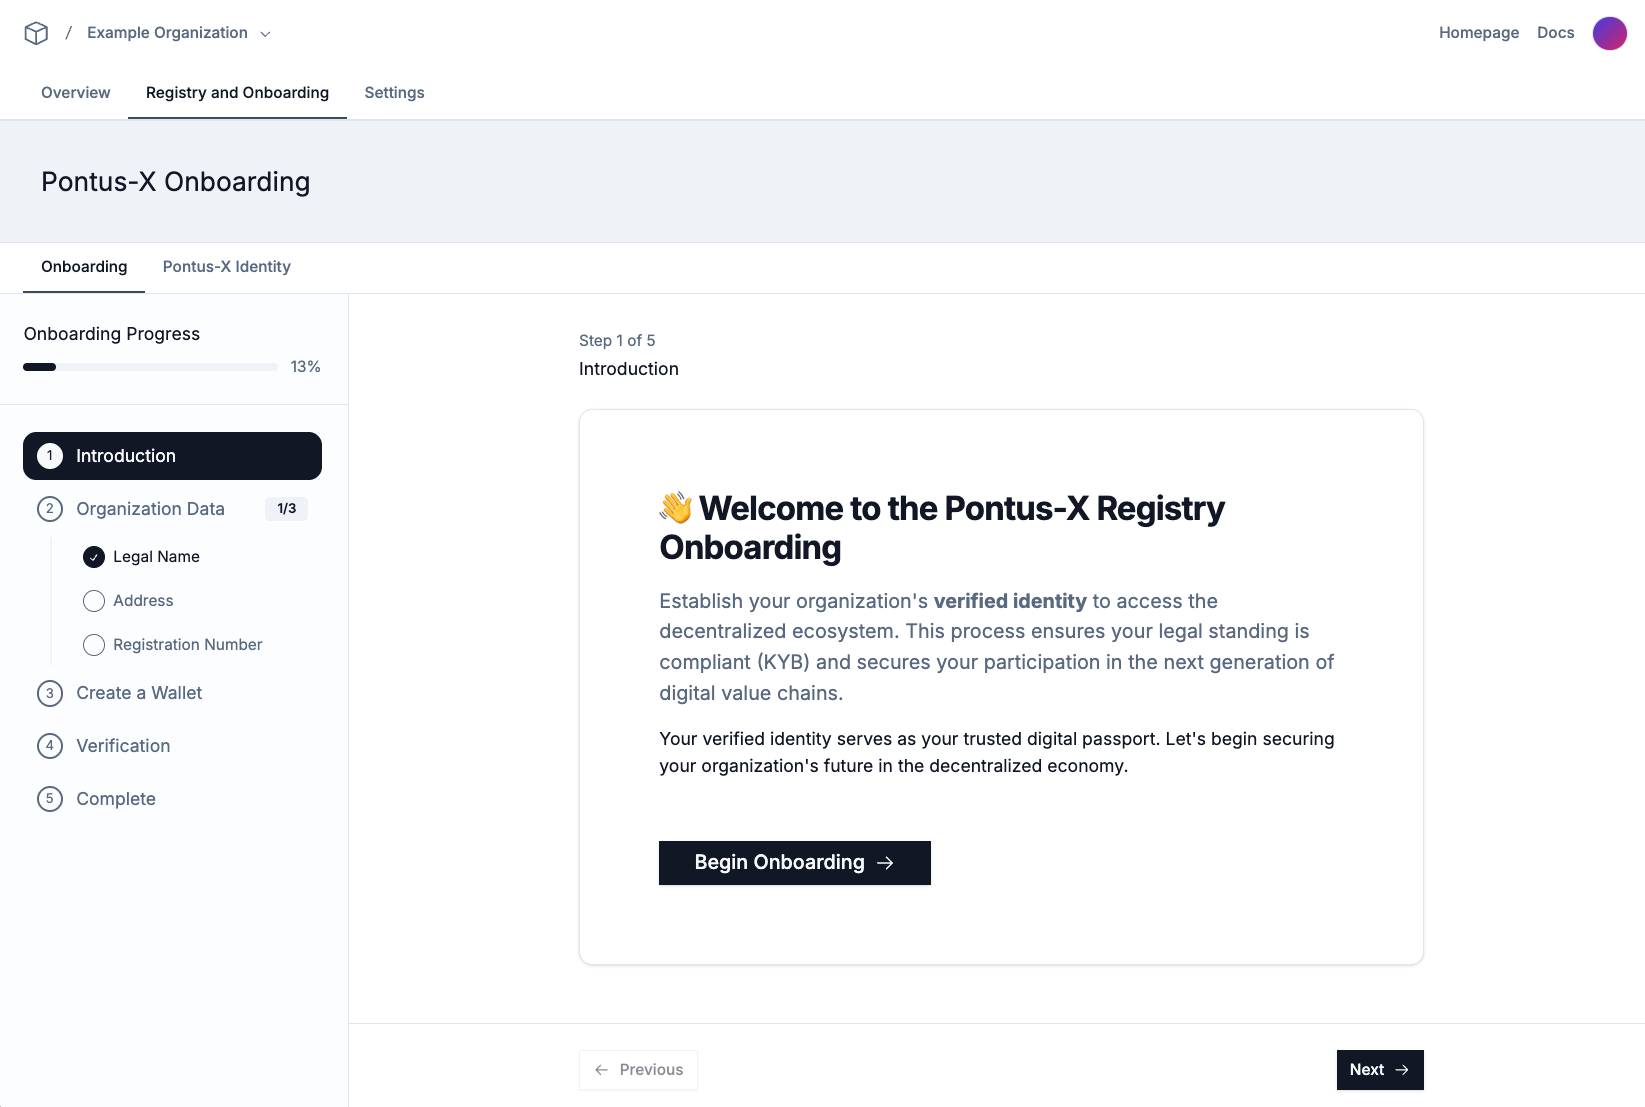
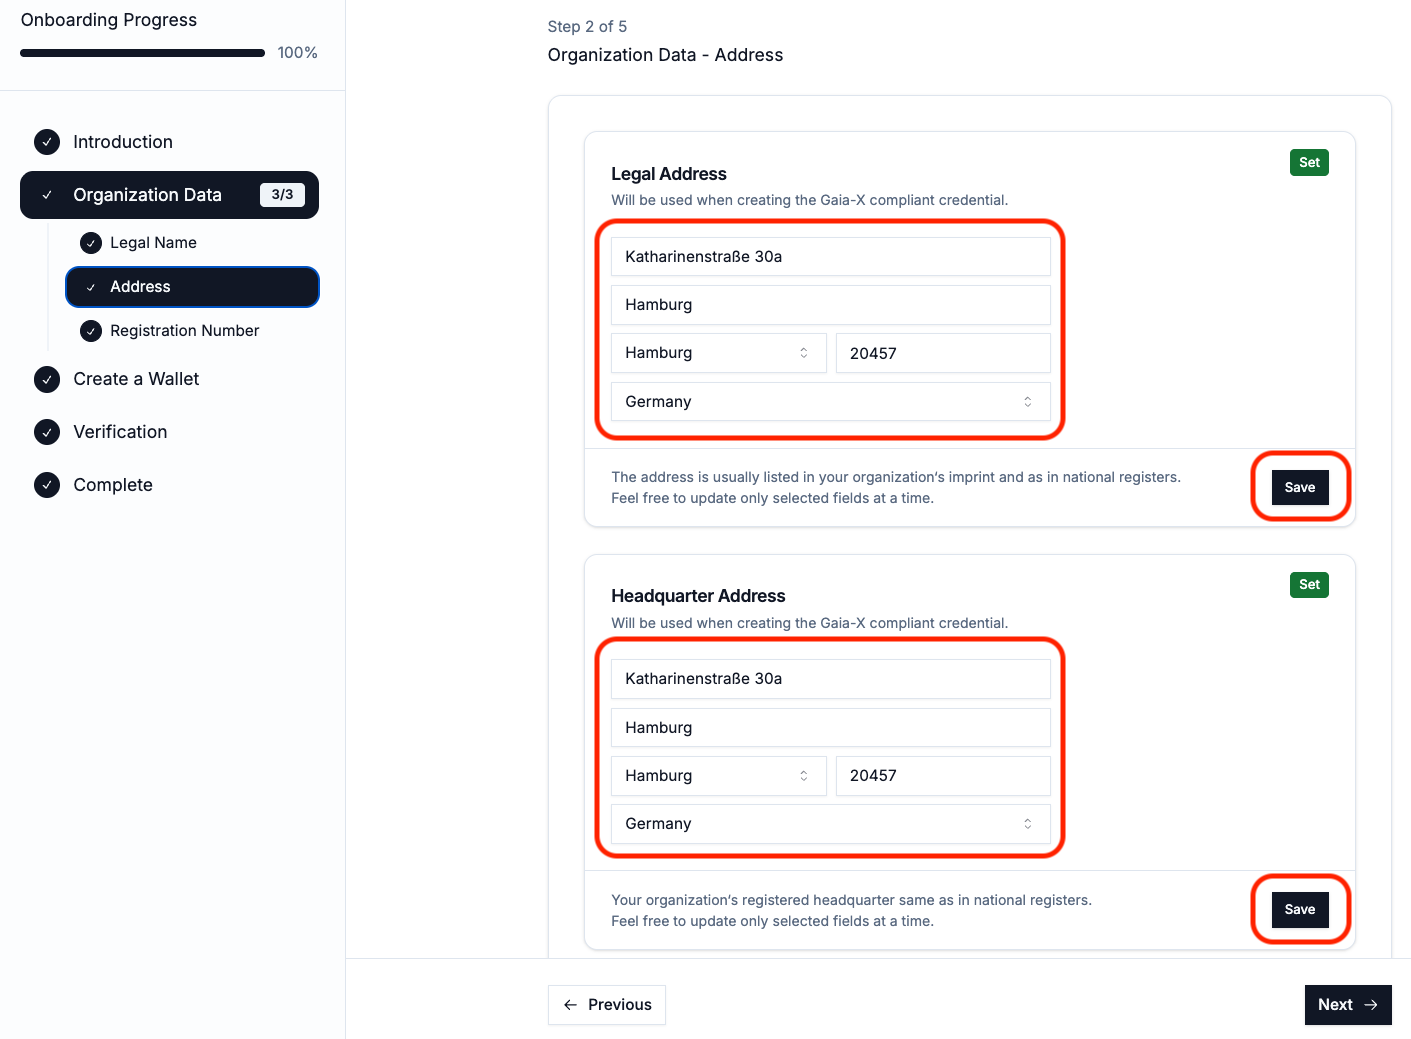
Please fill out the Legal Address and the Headquarter Address of your organization, precisely matching the data in your national register. This data is used to perform the validation of your organizational identity and for the creation of your Digital ID in the form of Gaia-X Participant Credentials following the Gaia-X Ontology. After filling the required fields, please make sure to save the data with the "Save" button.
Step 2 of 5 - Legal Registration Number
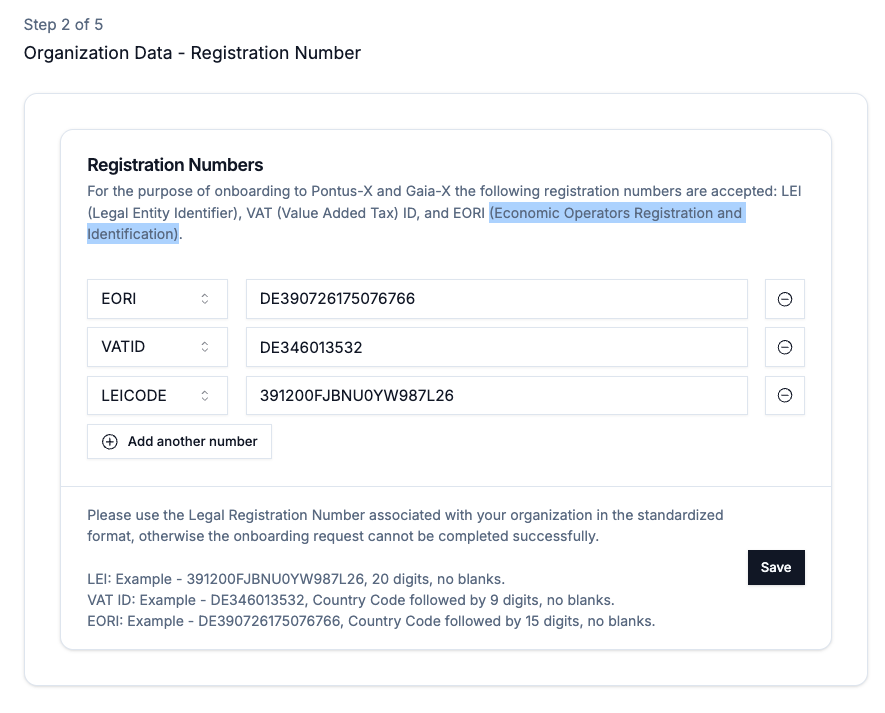
To verify your organisation against national and international registers, the onboarding app requires you to add at least one legal registration number from the following types.
- LEI (Legal Entity Identifier), verifiable via the GLEIF Search.
- European VAT (Value Added Tax) ID, verifiable via the European VAT Information Exchange System (VIES).
- EORI (Economic Operators Registration and Identification), verifiable against the EORI Number Validation.
Other identifiers, such as Trade Registry Numbers, national Tax IDs, or similar are currently not supported by the Gaia-X Compliance Document and Gaia-X Digital Clearing Houses (GXDCH) Notary Services. If you are unable to provide a valid identifier, please contact the provider of the onboarding application for support or an alternative means of validation.
Once you did enter the required information (at least one valid legal registration number) please save the data with the "Save" button. After that you will be forwarded to the wallet creation.
NOTE: If another employee in your organization has already registered the legal registration number with another account, it cannot be registered again. If this is the case, please contact that employee.
Step 3 of 5 - Create a Wallet
As part of the onboarding process, you will create an organizational secret private key, which will be stored in your wallet/keystore. This key controls your identity in the decentralized Pontus-X AI & data space ecosystem. It is the secure anchor used to receive official identity assets and sign transactions.
NOTE: Your secret key ensures only your organization can control its digital identity. Please create a secure OFFLINE backup, as it can not be recovered when lost. Do not share your keys with anybody outside of your organization or not being authorized to use it. If you ever lose access to your key, inform your onboarding provider, so that this key can be blocked from further usage.
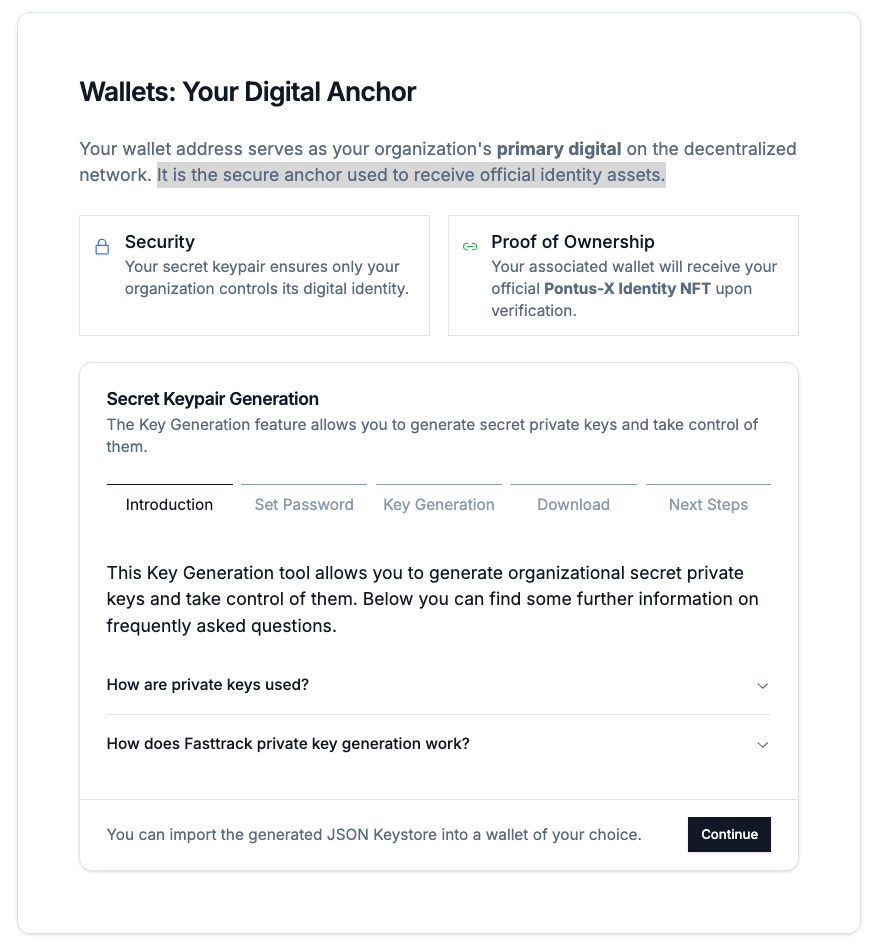
The Wizard will take you through each step of the key and wallet generation when you start the process with "Continue".
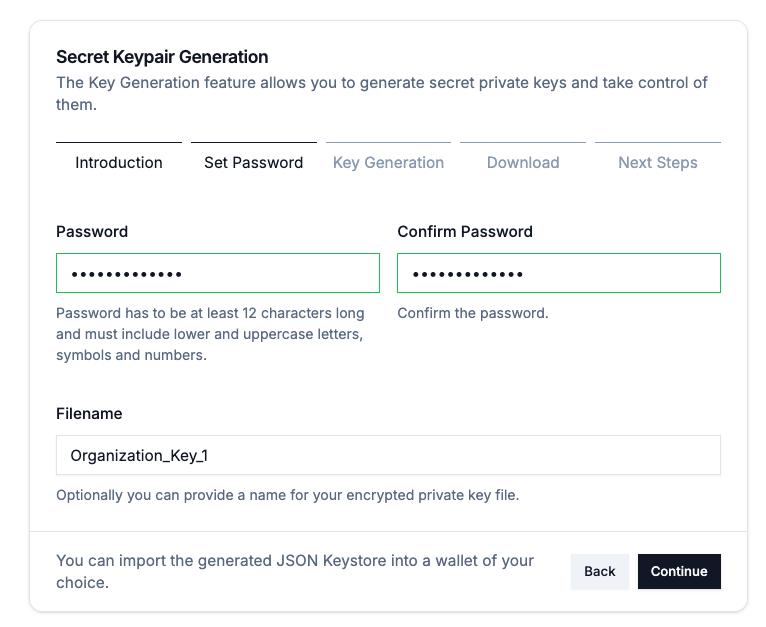
To protect your secret private key, select a secure password with a length of at least 12 characters including lower- and uppercase letters, symbols, and numbers. Please confirm this password and the user interface will indicate that the password has been entered correctly twice by a green border. Optional: You can also specifiy a filename for the key storage file that will be created in the progress. If you leave the field empty a filename will be generated automatically. Only filenames with letters, numbers, "_" and "-" are allowed.
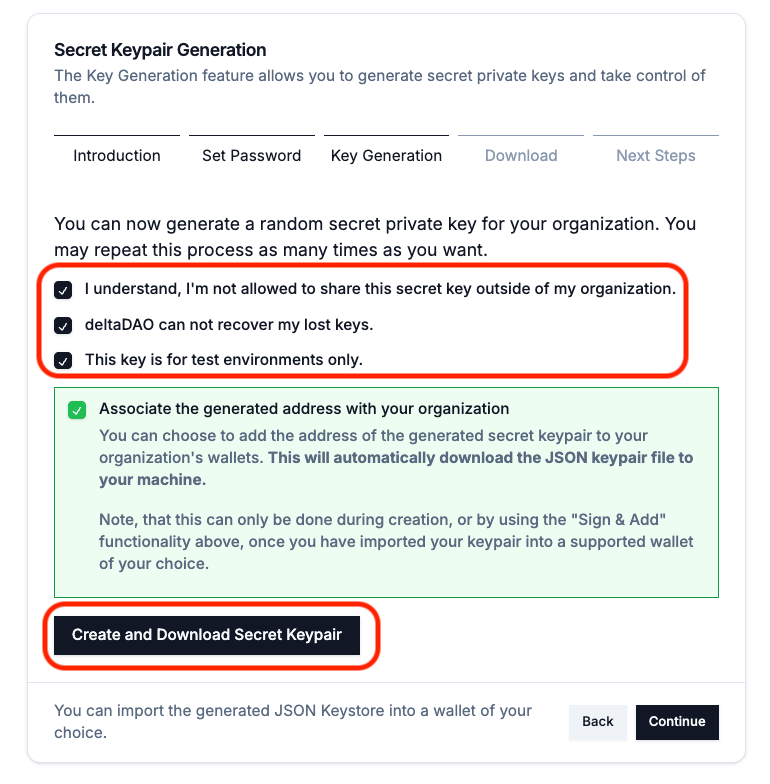
Before your organizational private key is generated, please confirm that you are never allowed to share the key outside your organization, that the onboarding application provider can never recover lost keys, and that the key generated will not be used in production environments.
NOTE: In production environments, a hardware wallet, a hardware security module (HSM), or a specialised wallet will be used instead. These are part of an Enterprise plan.
To generate your secret private key and the associated wallet file containing your key, please click "Create and Download Secret Keypair". Please confirm that the wallet file (JSON) has been downloaded correctly and create a secure backup of the file immediatly. This file can be shared with authorized employees of your organization. The wallet file can not be downloaded again from the application. The onboarding app provider never has access to your keys or stores your keys which are generated locally in your browser.
Step 4 of 5 - Verification
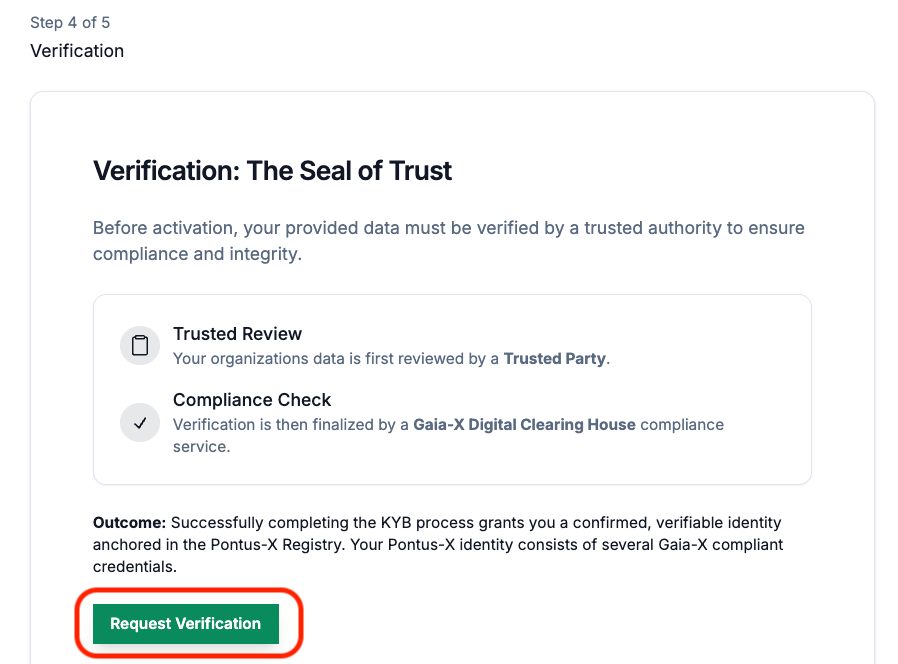
Before your account is registred in the data space ecosystem and your Gaia-X Digital ID is issued, the onboarding application provider will validate your onboarding request and verify your identity. The data provided will also be checked against the Gaia-X Digitial Clearing House (GXDCH) as part of the Gaia-X Participant Credential generation process. This process is widely known as Know-your-Business(KYB) or Know-your-Customer(KYC) procedure. You can submit your request for verification by clicking the green "Request Verification" button.
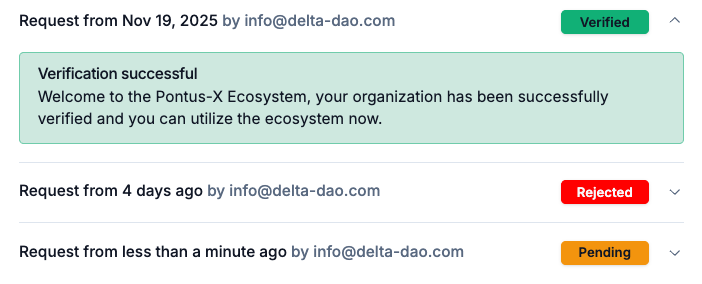
Once you have submitted your verification request, the onboarding application provider will compare your data against trusted national and international sources and inform you of the outcome. The status of your request is indicated in yellow for "Pending", green for "Verified", or red for "Rejected". The process usually takes about 24 hours, depending on the time and date when the request has been submitted. As long as the request is marked as 'Pending', there is nothing you need to do except wait for the procedure to finish. If the result is negative, you can expand the status field to find out why the request has been rejected. You will most likely be informed of the reason by the onboarding application provider. If the verification is successful, you have completed the process and you can proceed to the Pontus-X Ecosystem Portal to engage with the data space.
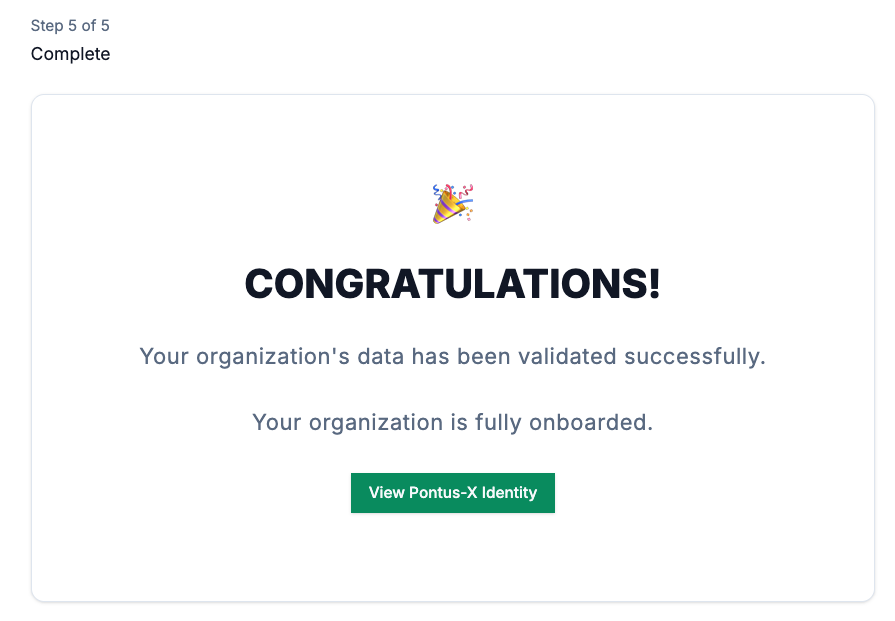
Step 5 of 5 - Completion
To access your Gaia-X Participant Credentials, please consult the Gaia-X Identity Credentials Documentation. To proceed directly to the documentation on using the Pontus-X Portal, please refer to the Pontus-X Introduction Documentation.